Most sectional sofa arms detach by releasing hidden brackets, screws, or bolts.
If you want to reconfigure seating, fit a sofa through a doorway, or deep-clean upholstery, you need to know how to remove arms from a sectional sofa without damage. I’ve done this in homes, showrooms, and photo studios for years. In this guide, I’ll show you how to remove arms from a sectional sofa step by step, share pro tools, cover different attachment types, and help you avoid costly mistakes. Read on for a complete, practical walkthrough that works for most brands and setups.

Why remove arms from a sectional sofa
Arms add width, weight, and stress on connectors. Removing them makes moving safer, cleaning easier, and layout changes faster. Knowing how to remove arms from a sectional sofa also helps you troubleshoot loose frames and noisy joints.
There are limits. Some arms are integral to the frame. Others hide fasteners under fabric or dust covers. Always check your warranty language. Rough handling can void it.
I learned this the hard way while staging a condo. We tried to tilt the sofa through a tight stairwell. It jammed at the arm. Five minutes later, with the arm off, it slid right in.

Know your sectional: arm types and connectors
Before you start, identify how the arm is attached. The method guides your plan and tools.
Common arm types
- Attached arm with bolts The arm is a separate piece bolted to the end frame.
- Bracketed arm The arm slides into metal brackets or clip plates.
- Upholstered-in arm The arm and body share a continuous fabric panel.
- Modular quick-release arm Premium systems use latches or cam locks.
Common connectors you may find
- Hex bolts or wood screws Often hidden behind a dust cover or under Velcro panels.
- Slide-lock brackets Male and female plates hook together and lock.
- Cam locks and pins Common in modular or flat-pack sectionals.
- Staples and tack strips Hide seams and access points.
Clues that help you ID the attachment
- Feel for metal near seams. It often signals brackets.
- Lift the dust cover on the bottom. It hides most hardware.
- Look for Velcro-backed fabric flaps near the arm joint.
- Check the chaise end. It often uses larger brackets and extra screws.
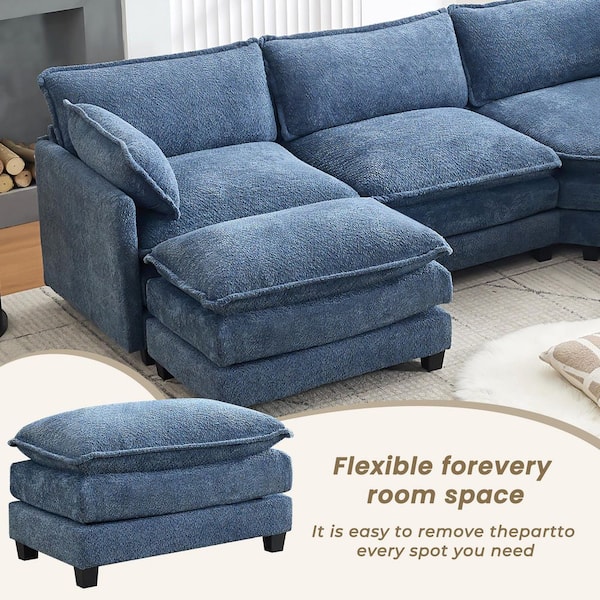
Source: homedepot.com
Tools, supplies, and safety
Right tools mean less strain and no torn fabric. Here is the basic kit I carry for how to remove arms from a sectional sofa safely.
Tools
- Screwdriver set Phillips and flat.
- Hex key set Metric and SAE.
- Socket set With a small ratchet.
- Adjustable wrench For nuts on through-bolts.
- Needle-nose pliers For staples and clips.
- Staple remover Or a small flat pry bar.
- Rubber mallet To nudge brackets apart.
- Flashlight To see inside dark cavities.
Supplies
- Painter’s tape For labeling parts.
- Zip bags For hardware.
- Moving blankets For soft support.
- Cardboard shims To protect floors and edges.
- Threadlocker light strength For reassembly if needed.
- Work gloves To protect hands.
Safety basics
- Power down recliners and unplug cords.
- Support the arm while removing final fasteners.
- Keep kids and pets out of the area.
- Lift with your legs, not your back.

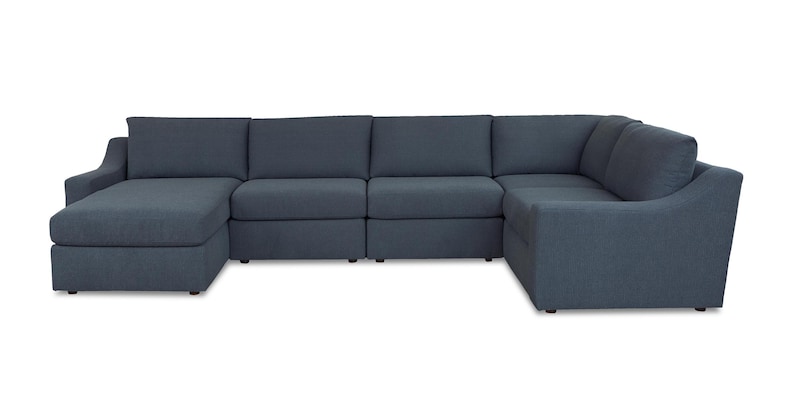
Source: bassettfurniture.com
Step-by-step: how to remove arms from a sectional sofa
This is the standard process I follow for most sofas. It suits both bracketed and bolted arms.
- Prepare the space Clear a work zone. Lay down a blanket to protect fabric and floors.
- Separate sections Disconnect the seating pieces at the main connectors so you can reach the arm joint.
- Expose fasteners Flip the section on its back or side. Remove the bottom dust cover staples at the arm area or open any Velcro flaps.
- Identify attachment Look for bolts, screws, slide-lock brackets, or cam locks. Take photos as you go.
- Support the arm Place a knee or a helper’s hand under the arm to take weight off the connectors.
- Remove hardware Unscrew bolts or release latches. Keep hardware in labeled bags.
- Break the joint Gently wiggle the arm. Tap the bracket with a rubber mallet if needed. Do not yank on fabric.
- Lift away the arm Set it on a soft surface. Label the arm and its mating side for easy reassembly.
- Protect and store Tape any loose fabric flaps. Bag small plates and keep them with the arm.
If you feel sudden resistance, stop. There may be a hidden screw or pin. Many readers ask if brute force works. It does not. It tears fabric and splits frames.

Method guides by attachment type
Different makers use different systems. Match the method to the hardware you find.
Brackets or clip plates
- Expose the joint. Open the dust cover or flaps.
- Lift the arm slightly to unload the bracket.
- Pull straight up or out, following the bracket direction.
- Tap gently with a rubber mallet if stuck. Avoid side twisting.
- Bag any loose plates or screws.
Tip from experience: Mark the bracket orientation with tape. Reinstalling upside down is a common error.
Bolted arms
- Find bolts inside the arm cavity or through the base rail.
- Use a socket or hex key to remove them in a cross pattern.
- Support the arm as the last bolt comes out.
- Wiggle free and lift away.
If a bolt spins, hold the nut on the other side with a wrench.
Hidden screws under fabric or staples
- Run fingers along seams to find firm spots that suggest screws.
- Use a staple remover to open a small area of the dust cover.
- Remove screws with a long screwdriver.
- Re-staple the cover during reassembly.
Open only what you must. Keep staples in a dish so they do not end up in your foot.
Slide-lock connectors
- Identify lock direction. Many slide forward to lock and back to release.
- Apply steady pull in the release direction.
- If tight, lift the arm slightly to relieve pressure.
- Do not pry between plates with metal tools on finished wood.
A small spritz of furniture-safe silicone on the bracket can help on reassembly.
Modular quick-release systems
- Look for pull tabs, quarter-turn cams, or spring pins.
- Rotate or pull to unlock. Hold the arm to control the release.
- Store any pins and note their positions with photos.
Manufacturers vary. If you still cannot find the release, check the product sheet if you have it.
Troubleshooting and common issues
Stuck bracket
- Apply a small upward lift and tap near the bracket with a rubber mallet.
- Use a thin plastic putty tool to ease the seam. Avoid metal edges.
Stripped screw head
- Press down hard with a fresh bit. Turn slow.
- Switch to a screw extractor if needed.
Hidden fastener you missed
- Stop, re-check seams and corners by touch.
- Peer into the cavity with a flashlight and mirror.
Fabric bunching at the joint
- Pull the fabric flat by hand as you separate the pieces.
- Use painter’s tape to hold fabric out of the way.
After reassembly squeaks
- Tighten all fasteners snug, not over-tight. A drop of light threadlocker helps.
- Check felt pads and bracket alignment.
These small checks save time. They also protect your frame and cover. Learning how to remove arms from a sectional sofa the right way prevents most of these headaches.

Reassembly, storage, and care tips
Reassembly is the reverse of removal, but a few habits make it clean and fast.
Label everything
- Tag the arm Right or Left.
- Bag hardware with its matching arm and label it.
Dry-fit first
- Align brackets or holes by hand before tightening.
- Start all screws by hand to prevent cross-threading.
Tighten smart
- Tighten in a cross pattern.
- Do not over-tighten into soft wood. Snug is enough.
Protect fabric
- Keep arms on blankets during storage.
- Cover exposed edges with cardboard when moving.
Final check
- Sit, lean, and shift weight at the arm to confirm no wobble.
- If loose, re-seat the bracket and re-tighten.
These steps make how to remove arms from a sectional sofa a repeatable process you can trust.

Time, cost, and when to call a pro
Time
- Bracketed arm 10–20 minutes per arm.
- Bolted arm 20–40 minutes per arm.
- Hidden fasteners 30–60 minutes per arm.
Cost
- Basic tools under $50 if you buy budget sets.
- Consumables like tape and bags under $10.
Call a pro if
- The sofa has power recliners or massage units with wiring in the arm.
- The arm feels integral to the frame and fabric is continuous with no access.
- It is a high-value piece with delicate leather or wood trim.
Professionals use the same approach you are learning. The difference is speed and lower risk. When stakes are high, outsourcing is smart. For everyone else, how to remove arms from a sectional sofa at home is very doable with care.
Frequently Asked Questions of How to Remove Arms from a Sectional Sofa
How do I know if my arm is removable?
Check for a seam between the arm and the base and look under the sofa for bolts, brackets, or flaps. If the fabric is continuous with no access points, it may be non-removable.
Can I remove arms from a reclining sectional?
Yes, but unplug power first and disconnect any cables running through the arm. Many reclining arms are bolted on, and you will find the bolts under the dust cover.
Will removing the arm void my warranty?
It depends on the maker and the terms. Read your warranty; some allow reconfiguration but not structural changes, and some require authorized service.
What if I can’t find any screws or brackets?
Search for hidden access under the dust cover or behind Velcro flaps. If none exist, the arm may be integrated and not designed for removal.
How tight should I re-tighten bolts on reassembly?
Snug, but not overly tight. Tighten until the joint is stable and stop before compressing wood or stripping threads.
Can I do this alone, or do I need help?
You can remove small arms solo, but a helper makes it safer. Always support the arm while releasing the last fastener.
How to remove arms from a sectional sofa without damaging fabric?
Open access points slowly, use a staple remover, and avoid prying with sharp metal tools. Support the arm and follow the connector’s release direction.
Do I need special tools for slide-lock brackets?
No special tools. A rubber mallet and careful lift usually do it, plus patience and good alignment.
Is there a universal method that fits all sectionals?
No. The best method depends on the connectors used. The general sequence of expose, support, release, and lift works across most designs.
How to remove arms from a sectional sofa to fit through a doorway?
Detach the arm to reduce width, protect fabric with blankets, and angle the body through the door. Measure first to plan your path.
Conclusion
You now have a clear plan for how to remove arms from a sectional sofa, from identifying connectors to reassembly. With the right tools, gentle handling, and labels, you can move, clean, or reconfigure your seating without stress. This method saves time, protects fabric, and keeps your frame solid for years.
Set up your workspace, gather your tools, and follow the steps above. If your sofa has complex wiring or no visible access, call a pro. Ready to tackle the next home project? Subscribe for more hands-on furniture guides, or leave a comment with your setup and I’ll help you map the best approach.