
Disconnect sections, remove cushions, release connectors, unbolt arms, label hardware, protect pieces.
If you want to learn how to disassemble sectional sofa the right way, you are in the right place. I’ve taken apart hundreds of sectionals in homes, showrooms, and tight apartments. In this guide, I walk through how to disassemble sectional sofa models of every type, with simple steps, pro tips, and real-world fixes that save time and prevent damage.
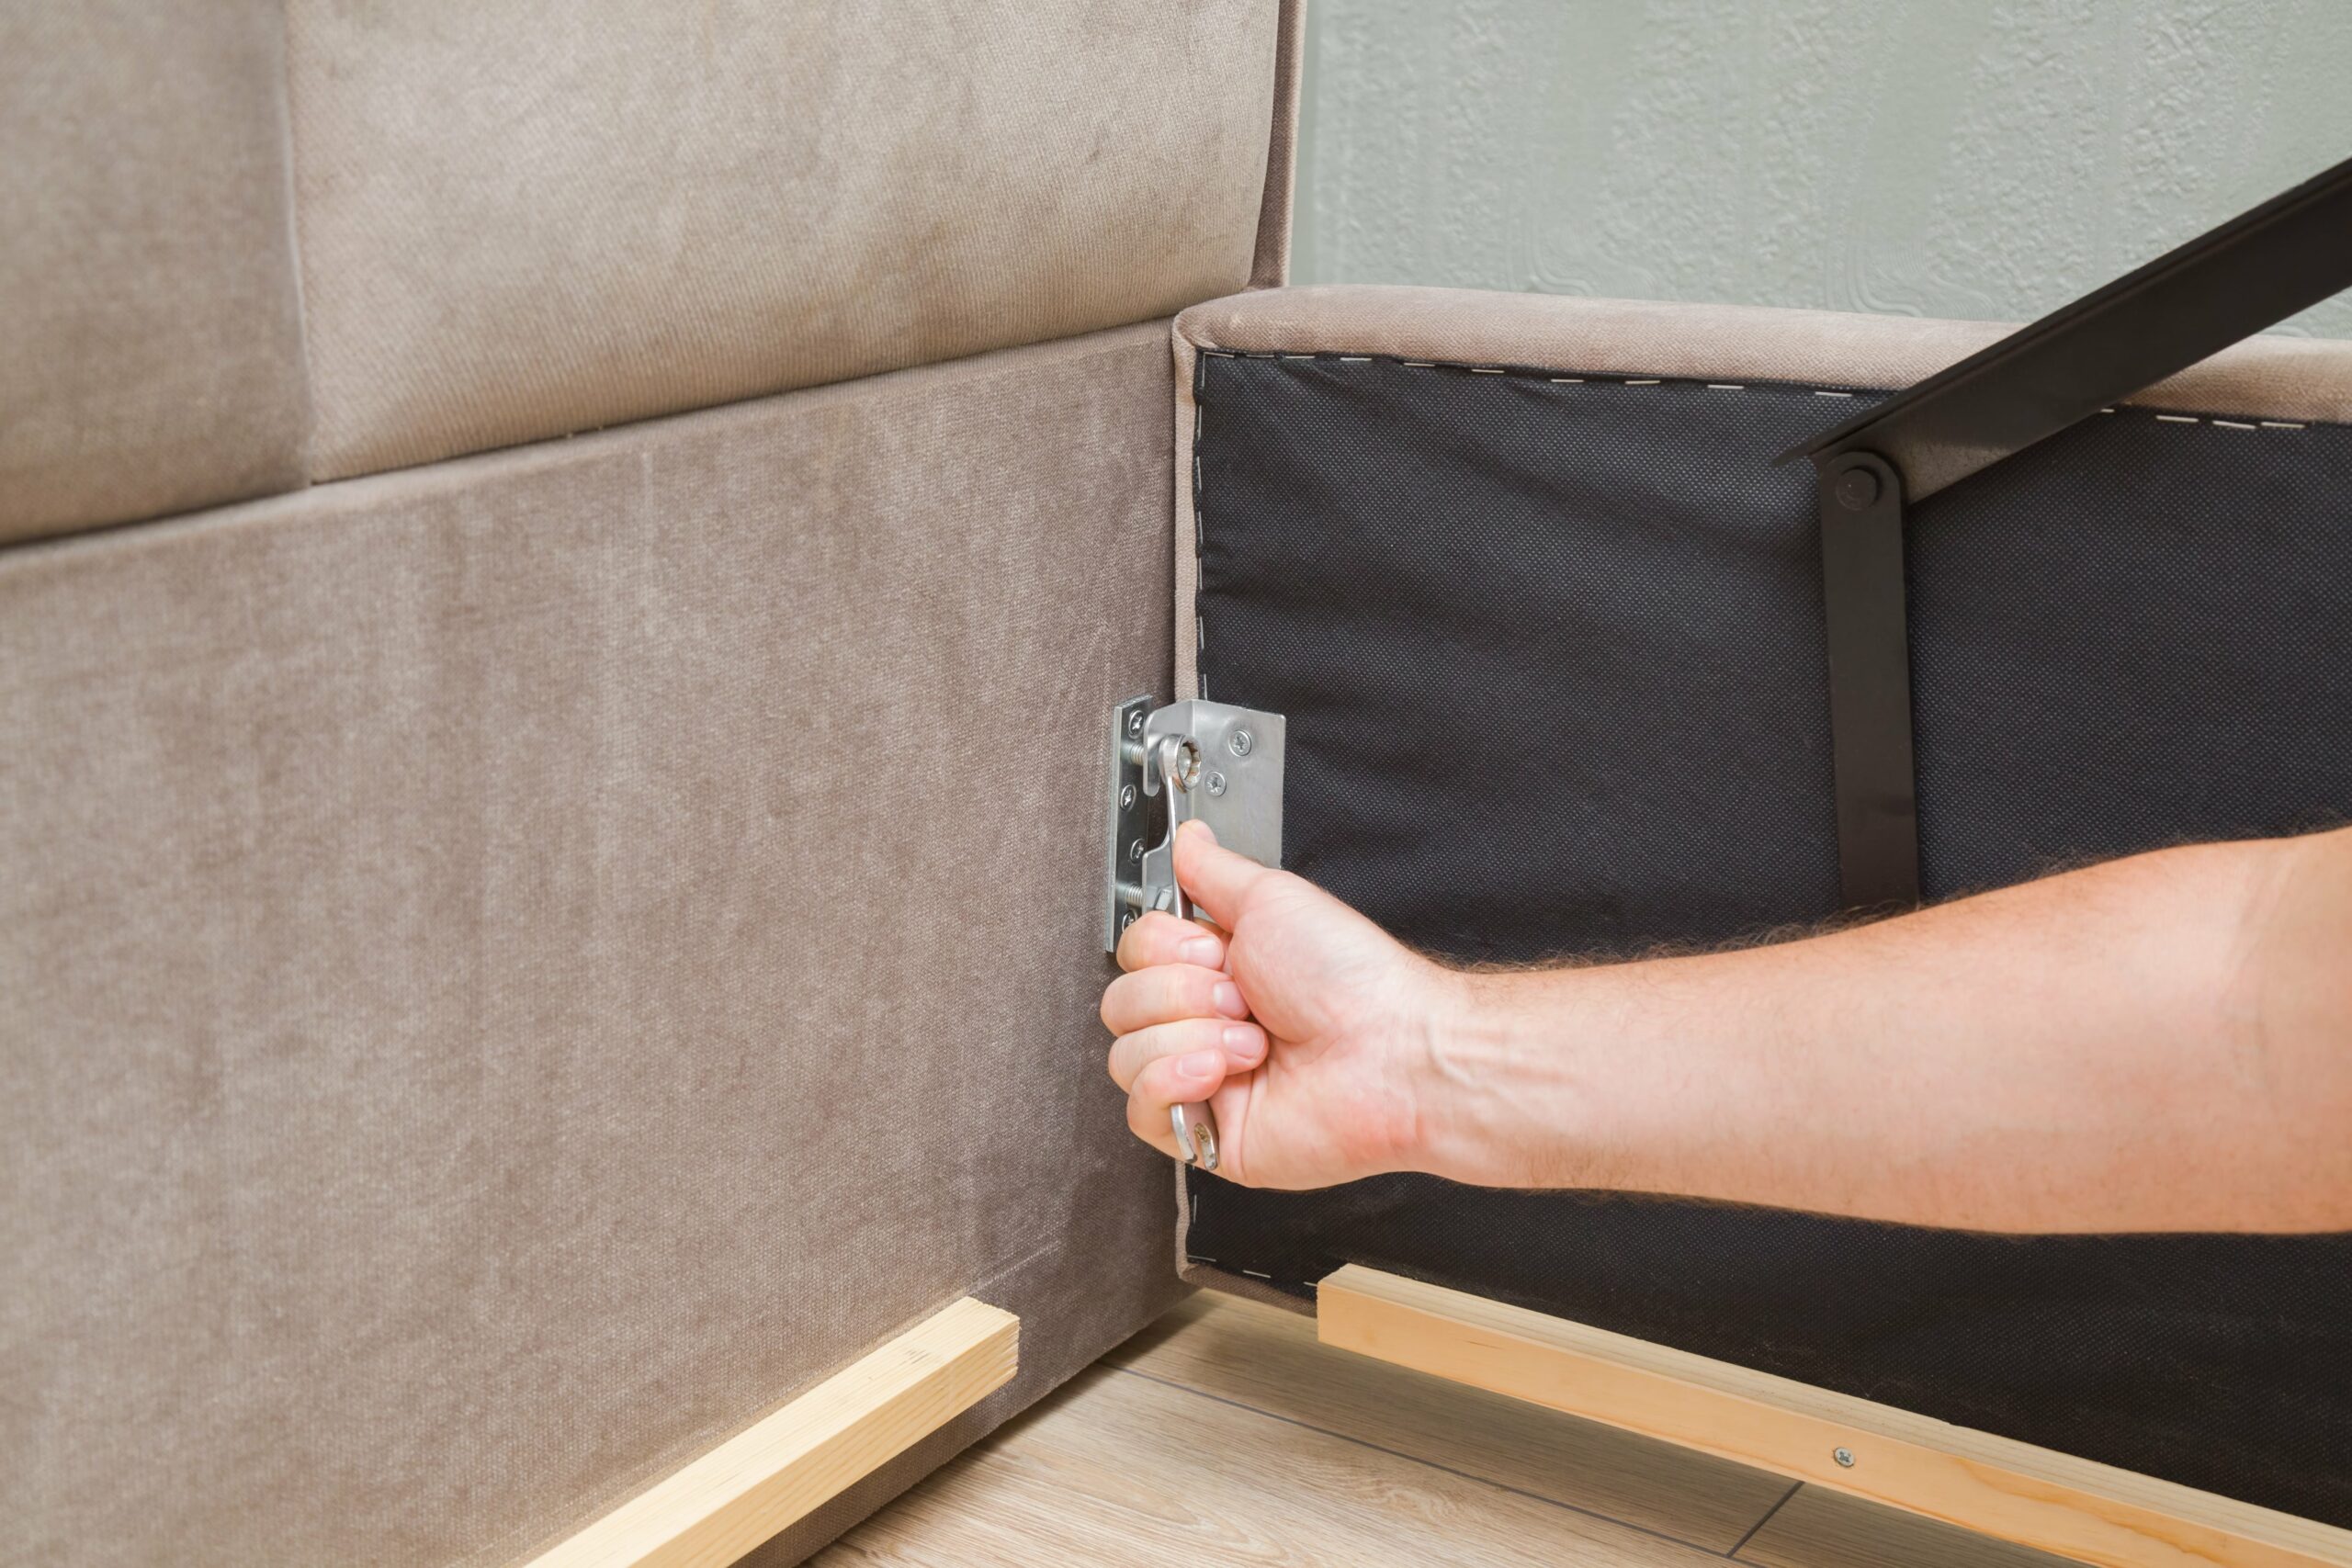
Tools and Supplies You’ll Need
Working smarter starts with the right tools. Before you start how to disassemble sectional sofa, gather everything and stage it nearby. You will avoid delays and reduce the risk of scratches or lost parts.
Essential tools and supplies:
- Phillips and flathead screwdrivers
- Socket set or wrench set
- Allen keys in common sizes
- Pliers and needle-nose pliers
- Zip-top bags or small bins for hardware
- Painter’s tape and a marker for labels
- Moving blankets, stretch wrap, and furniture pads
- Work gloves and safety glasses
- Flashlight or headlamp for dark corners
- Measuring tape for doors, halls, and stairs
Label each bag and tape it to the matching piece. You will thank yourself during reassembly.
Understand Your Sectional’s Layout and Hardware
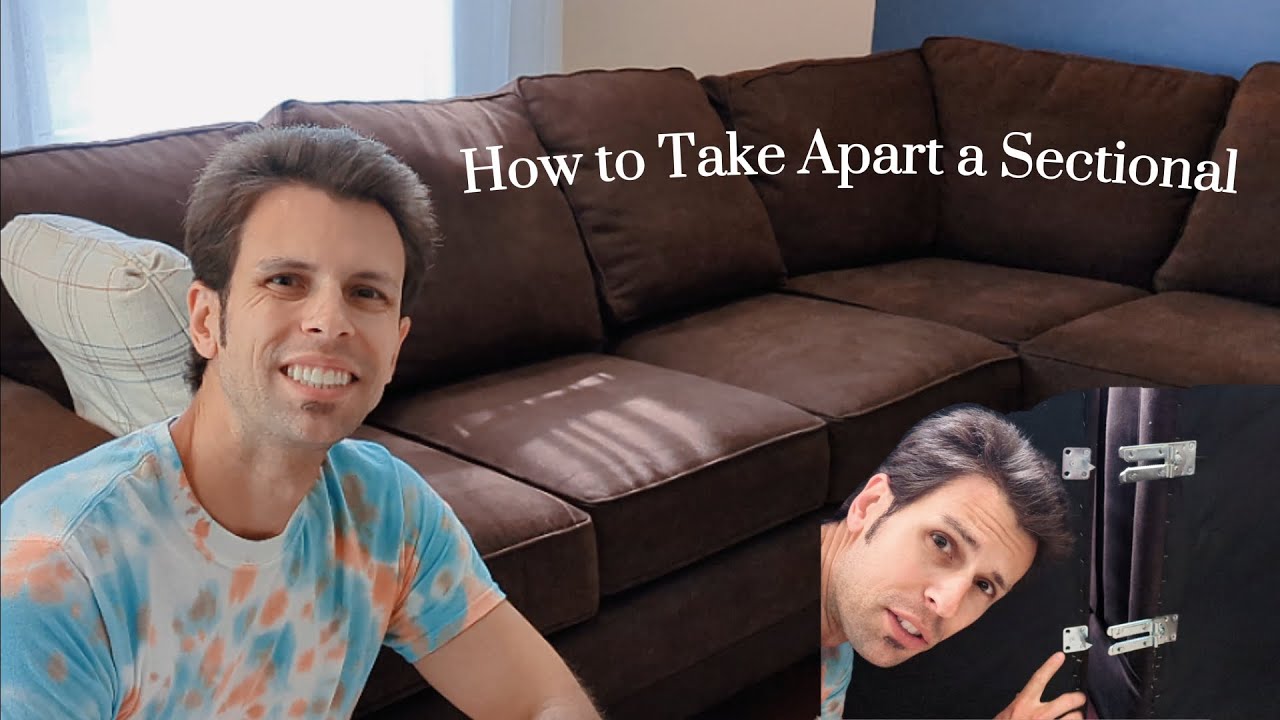
Not all sectionals come apart the same way. Spend a few minutes mapping the layout and finding the connectors. This small prep step makes how to disassemble sectional sofa fast and safe.
Common layouts:
- L-shape with two main sections
- U-shape with a center wedge
- Modular units with multiple armless seats and corners
Typical connectors and hardware:
- Interlocking brackets that hook together
- Slide locks that drop into a slot
- Alligator-style clips under the frame
- Bolts or plates at arms and corners
- Hidden clips behind dust covers
Flip or lift the front edge to peek under the frame. A flashlight helps you spot the release points without guesswork.

Prepare the Space and Protect Surfaces
Clear the area so you can move freely. Lay down pads to protect floors and walls. Good prep makes how to disassemble sectional sofa smoother and much cleaner.
Quick prep checklist:
- Remove rugs and small tables nearby
- Measure doorways and hallways before you start
- Lay moving blankets along the path
- Set up a parts table with bins and labels
- Take photos of connectors and cable routes
I like to shoot quick phone videos as I go. It is the easiest way to remember the order of parts later.
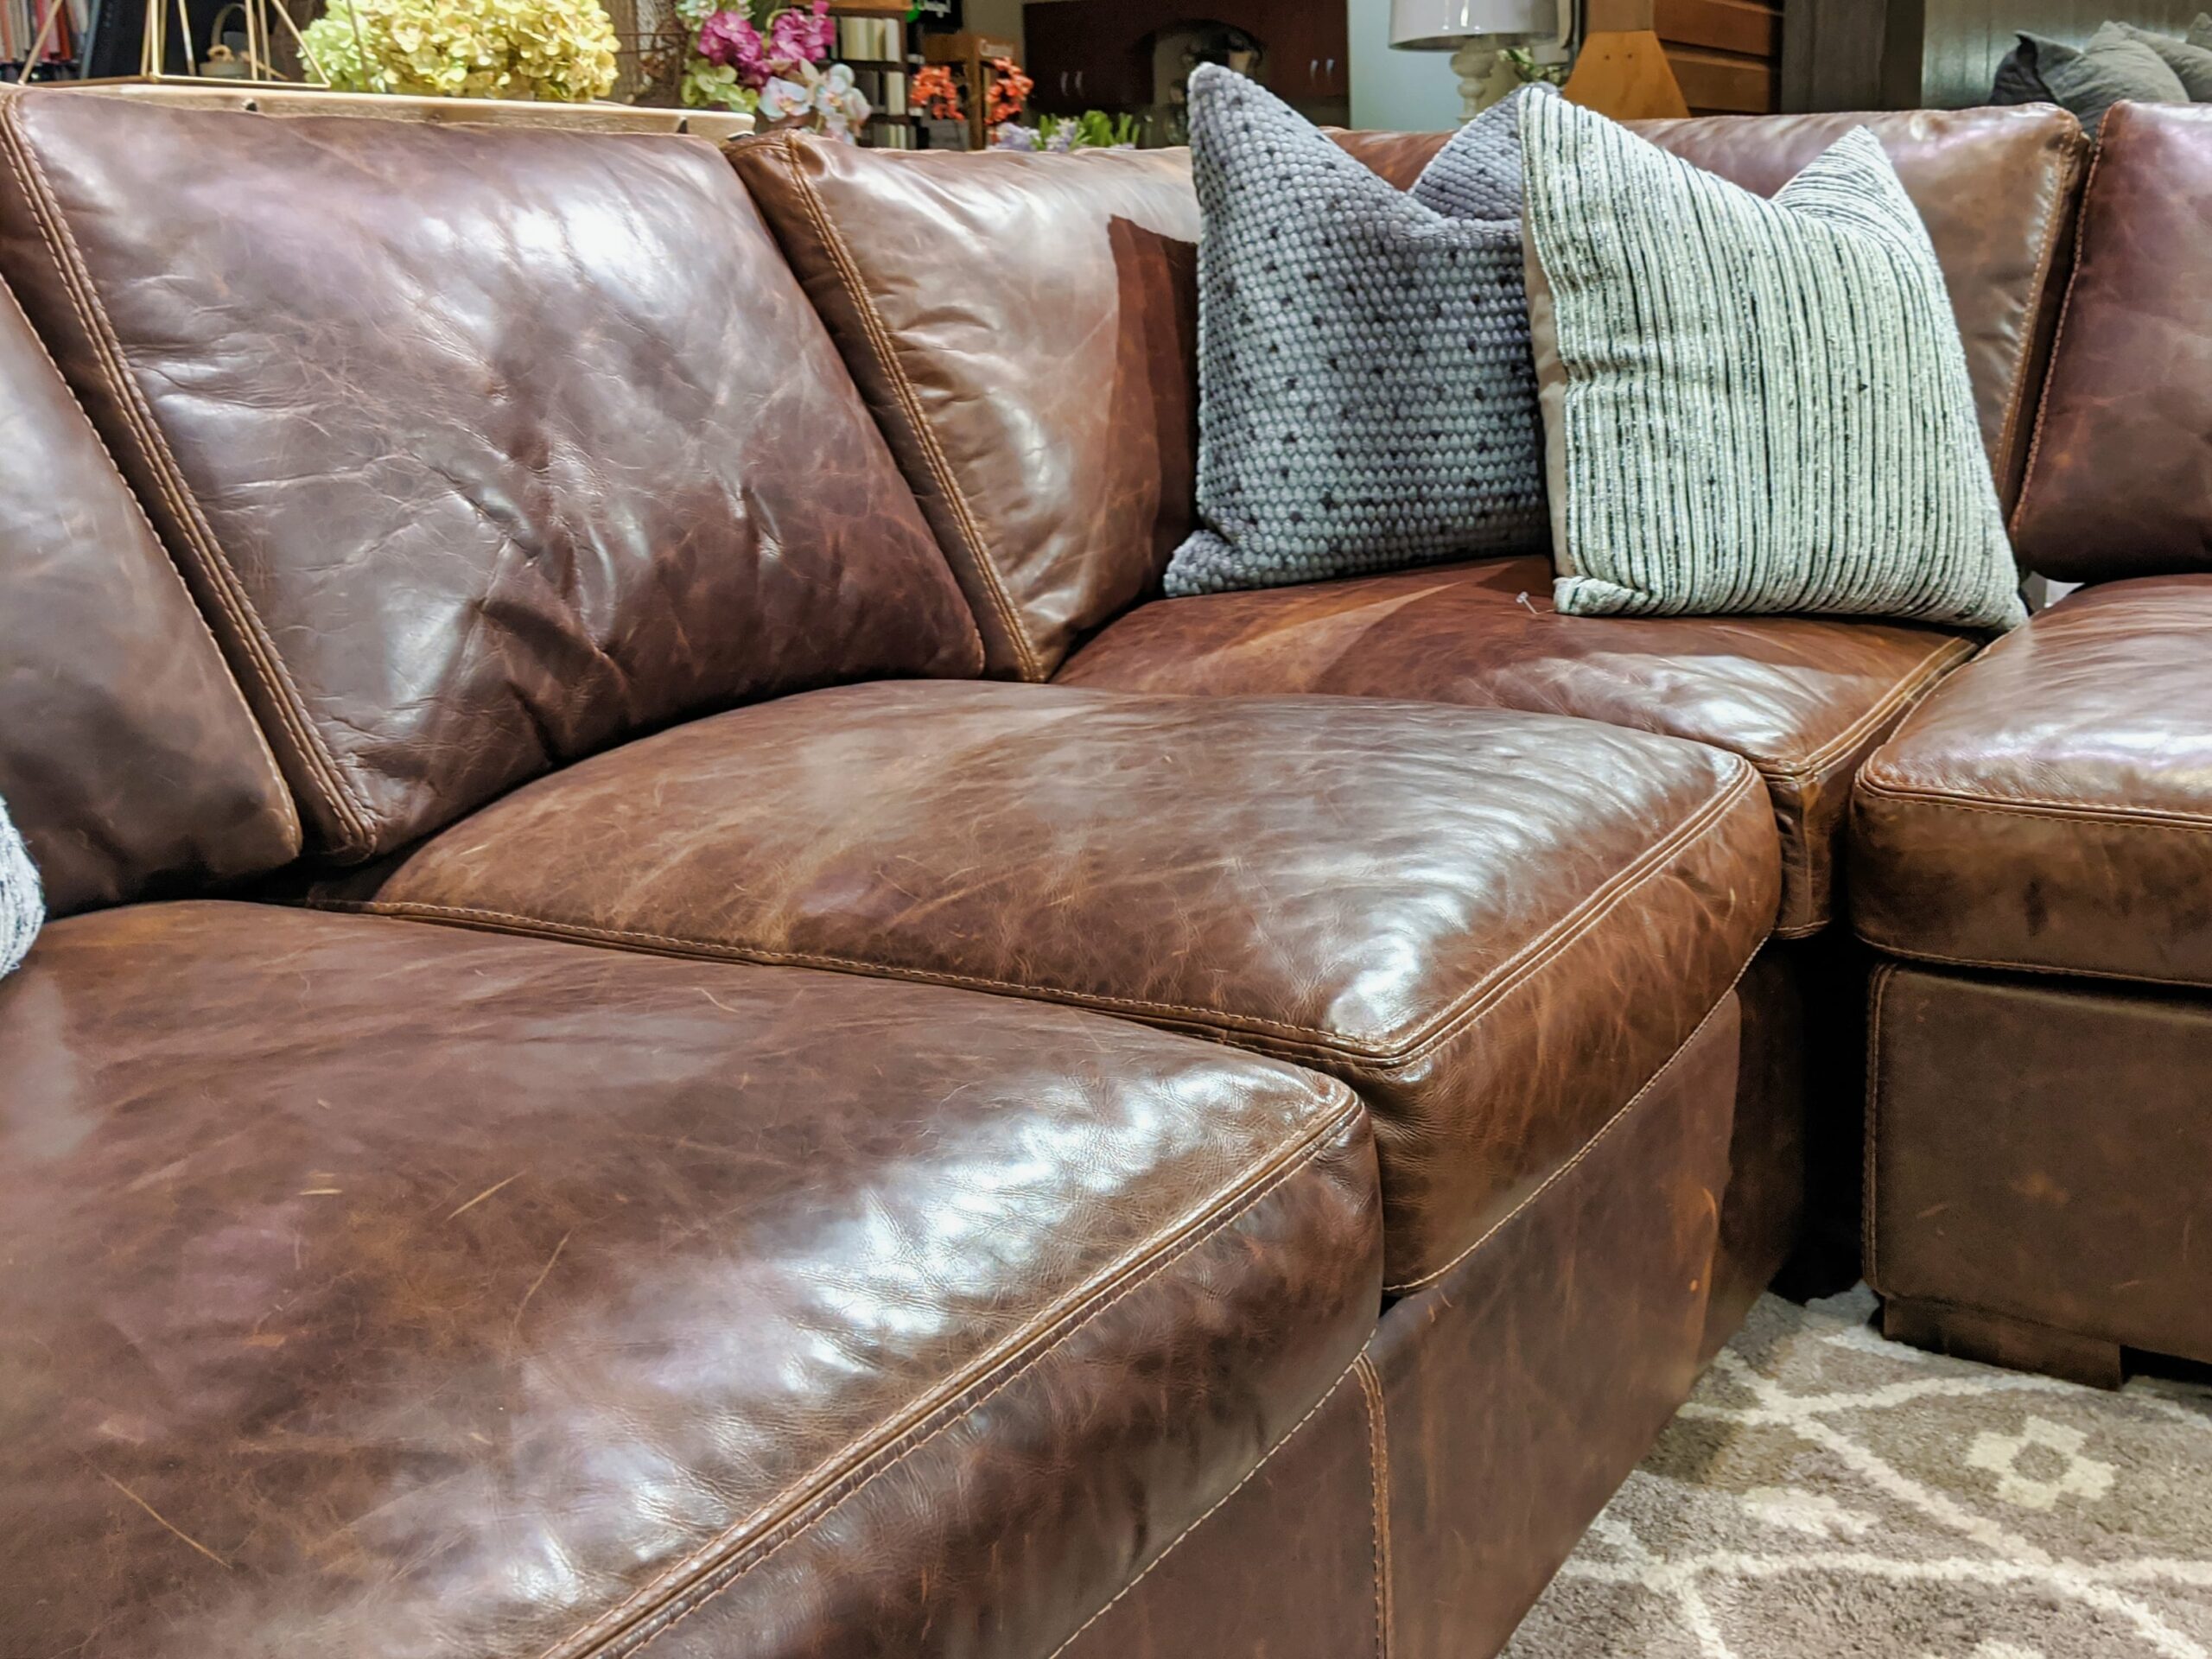
Step-by-Step: How to Disassemble Sectional Sofa
Follow these steps in order. This method works on most brands and frames. If your model is unique, adapt the flow, not the care.
- Remove all cushions and pillows. Bag small decor items so nothing goes missing. Set aside seat and back cushions by section.
- Disconnect power and cables. If you have recliners or USB ports, unplug them. Tuck cords into labeled bags.
- Expose the connectors. Lift the front edge a few inches or tilt sections back. Locate brackets, clips, or bolts.
- Release the interlocking brackets. Lift one section straight up, then pull away. Do not pry side-to-side. That can bend the hardware.
- Undo slide locks or alligator clips. Press the release tab if present. If stuck, lift slightly to take off the load and try again.
- Unbolt arms or corner wedges if needed. Use the correct socket or Allen key. Keep each set of bolts in its own labeled bag.
- Separate each piece in a safe order. Start with chaise or recliner pieces, then armless seats, then corners. This order lowers strain.
- Remove legs or feet. Some legs twist off by hand. Others use screws or bolts through the frame.
- Protect each piece. Wrap frames with blankets and secure with stretch wrap. Wrap legs and label their positions.
- Check for hidden fasteners. Lift dust covers gently to look for extra screws or clips. Reattach staples after if needed.
- Stage parts for moving. Stand larger frames on edge to save space. Keep all hardware with its matching frame.
- Document as you go. Write simple labels like Left Arm, Right Corner, Chaise Head. Photos reduce reassembly time.
This is the core of how to disassemble sectional sofa without damage. If a connector will not release, never force it. Ease the weight off the joint and try again. This patient approach is the secret to how to disassemble sectional sofa like a pro.
Personal note: On many jobs, a “stuck” bracket just needed one person to lift the front rail while the other pulled straight up. The second it was weight-free, it popped apart.

Special Cases: Recliners, Chaise Lounges, and Sleeper Sections
Some sections have extra weight or moving parts. Treat them with care, and you will avoid pinches and tears.
Handling tips:
- Recliners: Look for release levers on the back brackets. Many backs lift off once you pull a small latch. Unplug motors before lifting.
- Chaises: Remove the cushion, then check for bolts at the foot. Some chaises separate at a hidden mid-rail bracket.
- Sleeper sofas: Remove the mattress first. Close and strap the mechanism. Two people should carry the frame to prevent warping.
- Storage chaises: Empty the bin. Hold the lid open with a prop so hinges do not snap shut.
If you are unsure where to start, check the manufacturer manual. Most brands use standard release points for safety and service.

Labeling, Packing, and Storing Components
Smart labeling is the bridge between a clean teardown and an easy rebuild. Make it impossible to mix up parts later.
Simple system:
- Use painter’s tape on frames with clear names like Left Arm or Armless 2.
- Bag bolts and screws by section. Write which frame they fit on each bag.
- Keep connectors in pairs. Note which sides face outward.
- Wrap cushions in breathable covers. Avoid sealing foam in plastic for long storage.
- Keep legs and glides together. Mark front and back if they differ.
These steps turn how to disassemble sectional sofa into a repeatable process you can trust when you move or deep clean.

Reassembly Tips and Common Mistakes to Avoid
Reassembly is the mirror of teardown. If you labeled well, it is quick and calm.
What to do:
- Build from a corner and work outward.
- Level each section before locking brackets. Shim legs if floors are uneven.
- Test moving parts before replacing cushions.
Mistakes to avoid:
- Mixing hardware from different sections
- Forcing misaligned brackets
- Forgetting to reconnect power cords or securing them away from moving parts
I often stage the whole frame first, then tighten bolts. That gives you wiggle room to align hardware. This mindset is just as important as how to disassemble sectional sofa in the first place.

Safety Tips and When to Call a Pro
Sectionals can be heavy, awkward, and sharp in the wrong spots. Respect the load and your limits.
Safety best practices:
- Lift with your legs, not your back. Use two people for large pieces.
- Wear gloves and eye protection when removing staples or bolts.
- Keep pets and kids out of the work zone.
- Use sliders on floors to prevent scratches.
Call a pro if:
- You have a very tight stairwell or a spiral staircase
- The sectional has complex power recliners or a heavy sleeper frame
- Hardware is rusted or stripped and needs extraction
Professional movers follow a similar process, backed by manufacturer guidance and moving-industry best practices. Their help is often cheaper than a repair if something breaks.
Frequently Asked Questions of how to disassemble sectional sofa
How long does it take to disassemble a sectional sofa?
Most two-piece sectionals take 30 to 60 minutes. Complex recliners or sleepers can take 90 minutes or more with careful labeling.
Do I need special tools for how to disassemble sectional sofa?
You usually need basic screwdrivers, a socket set, and Allen keys. Some brands include a tool in the frame, but a full set saves time.
Can I disassemble a sectional sofa by myself?
You can remove cushions and hardware solo, but lifting sections is safer with two people. Teamwork prevents bent brackets and back strain.
What if the connectors are stuck and will not release?
Take the weight off the joint by lifting the front rail slightly. Spray a little silicone on metal brackets and try a straight-up lift, not a side pry.
How do I move a sectional through a narrow doorway?
Disassemble into the smallest safe pieces and stand frames on edge. Measure the diagonal of the opening and compare it to the frame’s shortest side.
Will disassembling void my warranty?
Most brands allow standard disassembly at the connectors and legs. Cutting fabric or altering frames can void coverage, so check your manual first.
How should I store the cushions and hardware after teardown?
Bag hardware by section and tape bags to the matching frames. Store cushions in breathable covers and keep foam out of sealed plastic for long periods.
Conclusion
You now know how to disassemble sectional sofa models with confidence. Prepare your space, label parts, release connectors the right way, and protect each piece as you go. These simple habits prevent damage, speed up reassembly, and make moving day smoother.
Put this guide to work on your next project. Tackle one section at a time, take photos, and enjoy a clean, calm teardown. Want more step-by-step home projects? Subscribe for new guides, or leave a comment with your toughest sofa challenge.